


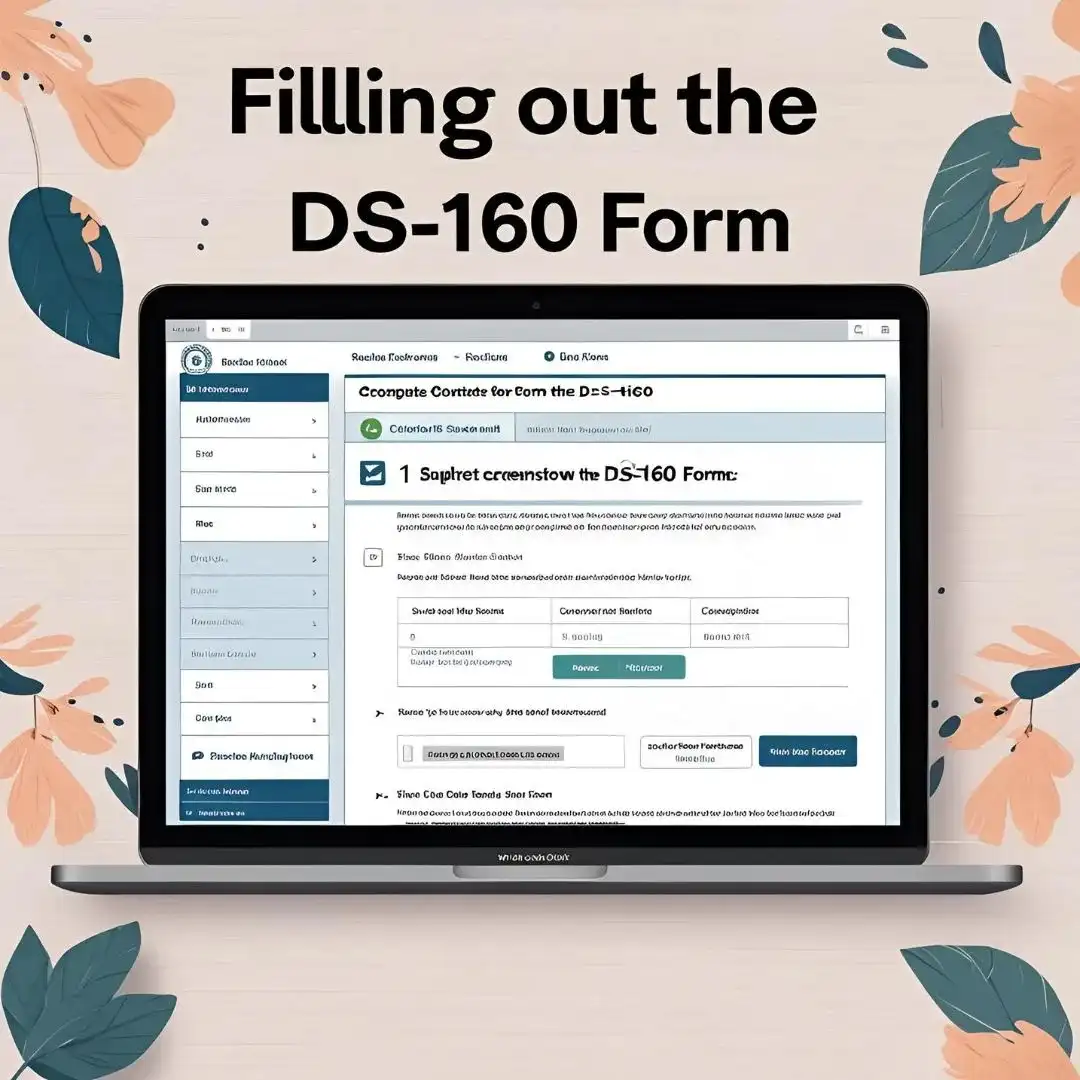
DS-160 Form Demystified: How to Fill it Correctly (With Screenshots)
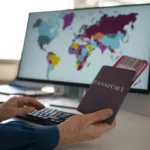
The DS-160 form is the online non-immigrant visa application form required for all temporary travel to the United States, including F-1 student visas, tourist visas (B-2), and work visas. It’s your first official communication with the U.S. government—and a key factor in your visa approval.
Filling it out might seem overwhelming, but don’t worry. This guide walks you through every section of the DS-160 form, with screenshots and pro tips to ensure your form is accurate and complete.
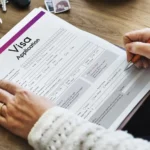
What is the DS-160 Form?
The DS-160 is a required online application for individuals seeking a nonimmigrant U.S. visa. Submitted electronically, this form collects essential information such as:
- Personal details
- Travel plans
- Family history
- Work and education background
- Security and background checks
Therefore, once submitted, the form is used by U.S. embassies and consulates to assess your eligibility for a visa.
🔗 Official DS-160 Website
What You Need Before Starting the DS-160
To avoid frustration and errors, gather the following before starting:
- Valid passport
- Travel itinerary (if available)
- U.S. address and contact (school, sponsor, host)
- Digital passport photo (recent and as per U.S. requirements)
- Educational details
- Work history and also
- National ID or social security number (if applicable)
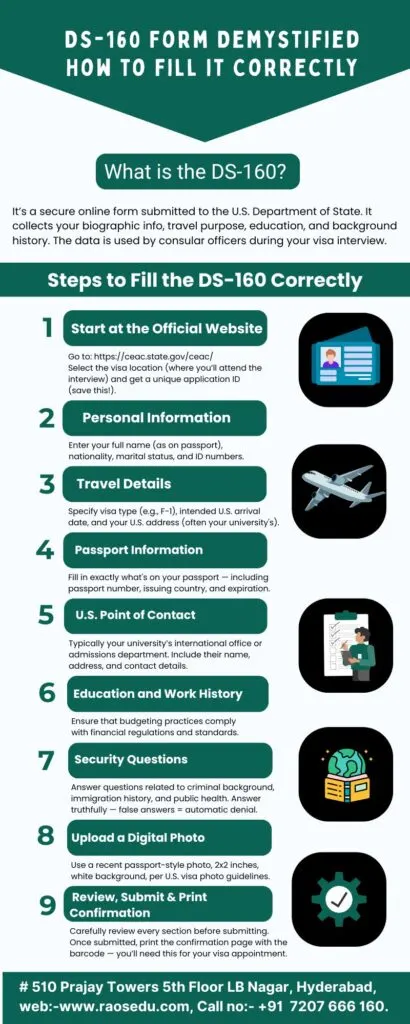
Step-by-Step Guide to Filling the DS-160 Form
Step 1: Access the Form
Visit the CEAC website and select “DS-160, Online Nonimmigrant Visa Application.”
(Placeholder for screenshot)
Click on “Start an Application.”
Step 2: Select Location and Begin Application
Afterward, choose the U.S. embassy or consulate where you’ll be attending your visa interview. This links your DS-160 to that location.
(Placeholder for screenshot)
Note: The location cannot be changed after submission.
Step 3: Personal Information
You’ll fill in:
- Full legal name (as in passport)
- Other names used (if any)
- Marital status
- Nationality and also
- Date and place of birth
Step 4: Passport Information
Fill out:
- Passport number
- Country of issuance
- Expiration date
- Passport book number (if available)
Check for typos—a single mistake can delay your visa.
Step 5: Travel Information
Details include:
- Purpose of your trip (e.g., Student, Tourism, Work)
- Intended date of arrival
- Length of stay
- Who is paying for the trip
If unsure about dates, provide estimates and clarify during your visa interview.
Step 6: U.S. Contact and Family Info
Add:
- U.S. point of contact (university or friend/family)
- Address where you’ll stay
- Family names, relationships, and citizenship details
Step 7: Education and Work History
List:
- Previous and current educational institutions
- Employer details for the last five years
- Major duties at each job
Provide truthful and detailed responses.
Step 8: Security Questions
This section covers your:
- Firstly, Criminal background
- Secondly, Health status
- Thirdly, Immigration violations
- Lastly, Terrorism affiliations
Answer honestly. False answers can result in permanent bans.
Step 9: Review, Sign, and Submit
- Carefully review each section
- Use the “Back” button to edit errors
- Electronically sign and submit the application
- Print the confirmation page with the barcode
You must bring this to your visa interview.
Common DS-160 Mistakes to Avoid
- Typos in passport or ID numbers
- Uploading an incorrect photo size
- Misstating travel dates or contact info
- Inconsistencies between DS-160 and I-20 form
- Submitting incomplete sections
Always save your progress every few minutes.

Saving and Retrieving Your Application
You’ll receive an Application ID at the beginning. Write it down or take a screenshot.
To resume later:
- Go to the DS-160 portal
- Click “Retrieve an Application”
- Enter your ID and answer your security question
How to Upload Your DS-160 Confirmation?
Once submitted, link the DS-160 to your visa interview appointment by entering the confirmation number in the U.S. Travel Docs portal.
Conclusion
Filling out the DS-160 form correctly is your first big step toward getting a U.S. visa. It might seem like a lot, but with proper preparation and attention to detail, you can do it with confidence.
Read More About the Topic
External Links
How to Fill a DS-160 Form for B1 and B2 Visa
How to Fill Out Form DS-160 for a U.S. Visa
Internal Links
How to Prove Financial Support for Your F-1 Visa Interview (With Examples)
Five Key Causes of US Student Visa Rejections and Tips to Avoid Them